
Building beautiful worlds across platforms with PlayCanvas and the Magnopus Web Renderer; featuring volumetric lighting
At Magnopus, we’re passionate about creating visually stunning and interoperable Connected Spaces – experiences that work seamlessly across devices, from Apple Vision Pro to mobile, web, and desktop. To achieve this, we’ve developed the Connected Spaces Platform (CSP) and OKO, a suite of apps built on it.
As part of our ongoing R&D, we continuously explore ways to push the limits of real-time rendering on the web. In this article, I’ll walk through how we use a customized PlayCanvas build alongside our Magnopus Web Renderer to achieve high-fidelity visuals, focusing on one of our most exciting advancements: volumetric lighting.
PlayCanvas and the Magnopus Web Renderer
When you browse to a Connected Space via OKO, you are using our web engine, even if the space itself was built in Unreal Engine or Unity. To maintain visual fidelity across all platforms, we wrote a library called Magnopus Web Renderer (send catchy names on a postcard please!). This backend-neutral rendering framework reduces the large API scope of PlayCanvas and ensures that we are not too dependent on any particular engine. If we want, we could just as easily write another backend in another engine, e.g., Three.js, without having to rewrite the whole application.
Why PlayCanvas?

We started out using BabylonJS, but found that the performance and features of PlayCanvas, particularly its lighting engine, were a better fit for our needs. PlayCanvas uses what's known as a “Clustered Forward” rendering engine, which allows for lots of real-time lights in the scene without a heavy cost to performance, and without the downsides and complexity of deferred rendering.
Types of rendering
Forward rendering: This is considered the most straightforward way to render an object. Each mesh and material is drawn to the screen in its final form, complete with textures, normals (direction light bounces off a surface), and lighting. However, this method doesn’t scale well on its own, as the complexity increases with the number of lights multiplied by the number of meshes.
Deferred rendering: The most commonly used technique in AAA game engines, deferred rendering leverages multiple render targets (MRTs) to separate different aspects of a mesh into individual buffers. These buffers store data such as normals, base color, and metallic roughness. Instead of calculating lighting per mesh, deferred rendering applies it per pixel after the initial rendering pass. This decouples the mesh complexity from the lighting complexity entirely, allowing for an unlimited number of lights in a scene at a more linear fixed cost.
Clustered rendering: An optimisation technique that divides the scene into areas in 3D space called clusters. Lights are assigned only to the relevant clusters, eliminating the need to check every light against every mesh during rendering. This significantly improves performance, allowing for many more lights in a scene. If a light doesn’t affect a particular area, it’s simply ignored, reducing unnecessary calculations.
New features
Over the last couple of years, we’ve added several new features over the baseline PlayCanvas engine:
LOD (level of detail) System, including an automated LOD generation pipeline system
LOD Animation System to reduce animations
Reflection Probe Volumes, allow for the baking of reflections into a sphere or box for lighting and reflections
Light Probes, capture directional lighting inside of a volume, allowing for dynamic objects in the scene to be lit correctly even when light maps are used
It also allows for baked bounce lighting global illumination without a lightmap
Jolt Physics Engine, for a more modern and performant physics engine
Unreal Engine baked lightmaps
Optimised per-pixel picking and selection for fast and accurate object selection
Better tolerance for GLTF files that contain errors
In progress experiments
Hardware instanced Grass
Navigation meshes for AI agents
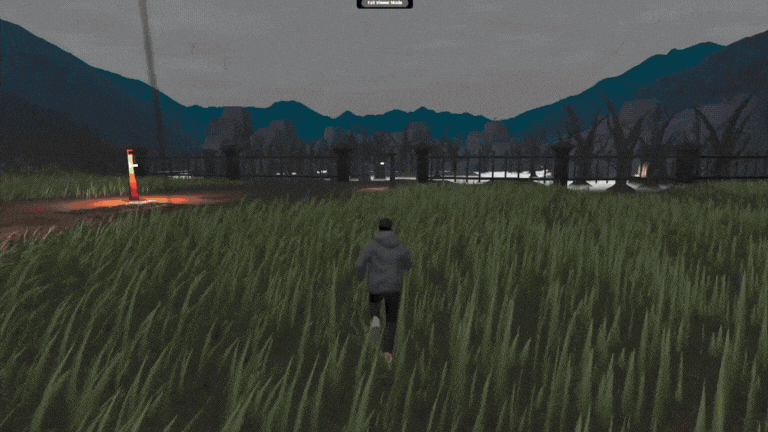
Ground fog
Terrain
Last but not least, the subject of today's blog, volumetric lighting!
Volumetric lighting, it’s just fog right?
Not quite, but they are similar. Let's start from the beginning.
Classic “fog”

Hexen: Beyond Heretic - Raven Software 1995. Source
A classic technique to reduce draw distance and improve performance involves coloring every pixel on screen based on its distance from the camera – literally adding more "atmosphere" to a scene. Enhancements to this method include factoring in height, limiting fog to specific areas, applying different distance functions (e.g., exponential fog), or adjusting the color near light sources like the sun for expansive outdoor environments.
Ground fog
Building on exponential height fog, this technique adds noise – a key to making visuals more interesting and realistic by introducing imperfections. Noise refers to a set of algorithms that create natural, varied patterns. Instead of coloring based purely on distance, the fog is now defined by a "fog density" formula, which samples fBm (fractional Brownian motion) noise. This simulates the random movement of particles in a volume, causing some areas of the fog to appear denser than others, just like real fog.
Fog cards

"Fog cards" are a simple technique where a video or animated texture of real smoke is placed on a translucent surface. Using a specialized shader, you can enhance the effect with various techniques:
Fresnel effect: Adjust visibility based on the viewing angle – fully visible when viewed head-on and gradually fading at sharper angles.
Depth softening: Fade the effect where the plane intersects with geometry to avoid harsh clipping edges.
Camera distance fade: Gradually fade the fog as the camera approaches to maintain a natural appearance.
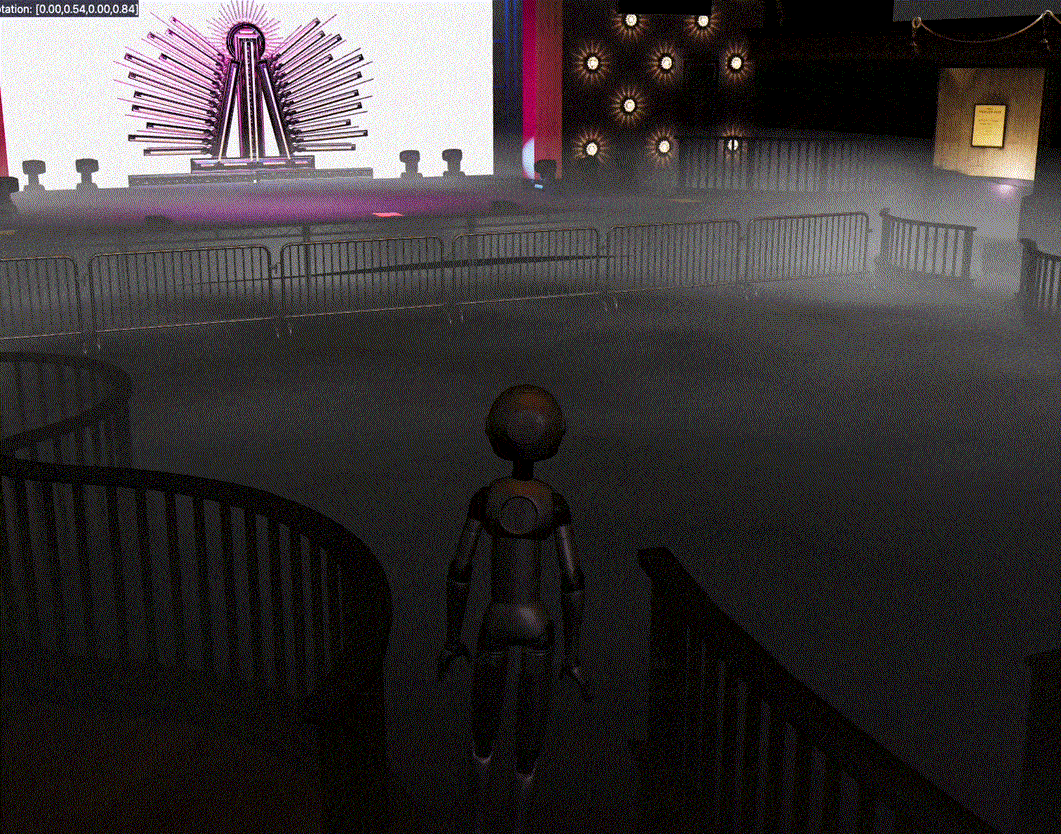
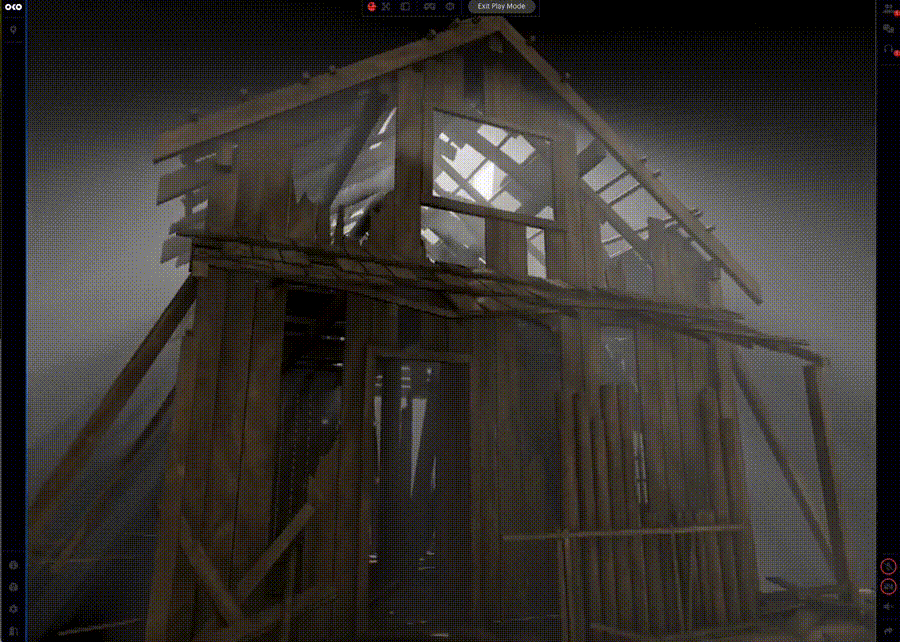
Volumetric lighting
As the name suggests, this technique samples the "fog" based on the lighting in a scene. This allows for more precise control over fog placement and a more realistic depiction of how fog interacts with light. In reality, fog appears denser when illuminated by strong light sources, as the light scatters off particles in the air – an effect accurately reproduced with volumetric lighting.
“Cheat” method
This approach uses cone-shaped geometry matching the light source, combined with translucency and the Fresnel effect to soften the edges. It’s computationally inexpensive to render but comes with limitations: the effect disappears when the viewer is inside the volume, doesn’t hold up from all angles, and cannot account for light occlusion (e.g., shadows).

Volume rendering
To draw real volumetrics, we use a technique called volume rendering, which relies on raycasting. This involves tracing a ray from the camera into the scene and sampling points along its path. At each point, we determine how much light is present. The process continues until the ray either reaches its endpoint or hits an object.
By combining these samples, we can calculate the density of the volume along the ray. We can also factor in properties like light color, height falloff, and noise to enhance realism. Most excitingly, if the light source casts shadows, we can sample its shadow map to determine whether the light volume at our current world position is illuminated. We do this by converting our position from world space into the light's shadow space (This is the view of the world from the point of view of the light source). This gives us the corresponding location on the shadow texture, allowing us to multiply the light's power by the shadow map value to reduce or remove its contribution at that point.

This is run inside of a post processing effect after the scene is drawn into as small an image as we can get away with for performance reasons. This is then upsampled to the final resolution, smoothing out the final image.
What's next?
While the results and performance of the raycasting effect exceeded expectations, it remains a basic approach compared to cutting-edge techniques. Next, we’re experimenting with WebGPU Compute shaders to handle complex lighting calculations, storing the results in “froxels” – a frustum-aligned voxel grid. This approach enhances detail for nearby lights while reducing complexity for those farther away. By utilising compute shaders here we can also more efficiently utilise our GPU resources.
By combining the power of the Connected Spaces Platform and PlayCanvas, we can make experiences accessible to everyone on any device, wherever they are. We’re committed to pushing the boundaries of web-based experiences and can’t wait to share more with you in the future.