Designing interactive experiences: level up your prototypes
From game engines to cross-reality creation tools. Our prototypes are evolving and so should you.
A Real World Example
Let’s say the team wants to make an augmented reality experience for a guided tour.
Imagine that the first task on the agenda is to identify and prototype how the user will find their way around the space. Suppose that, as the designer, you opt for digital signposting. How do you go about prototyping this?
Briefly speaking, any good prototype should do two things:
Communicate an idea in a timely and cost-effective manner.
Validate that your idea works.
As designers, we typically have an innate ability to envision what the end experience might look like. You might be absolutely positive that your idea is going to work. But there will no doubt be a sense of uncertainty amongst the rest of the team. Engineers, Producers, and Artists alike will all have their own questions regarding the prototype you put forward.
“Is this really going to work?”, “What happens when I lose tracking?”, “How far away do I have to stand to see the sign?”, “What happens if I don’t look up?”, “How does it look if I’m really tall?” and so on.
These are all entirely valid questions, and typically, you won't know the answers until an engineer interprets your design and produces something tangible to test.
At that point, you’ll be able to report back on the general “feel” of the interaction and begin working in parallel with others to solve those questions that were posed earlier. This is a common workflow amongst teams and one that studios have utilised for years. It’s part and parcel of the design process.
However, times are changing and designers are leveling up.
We can validate our idea by building a dynamic prototype. With a dynamic prototype, we create something interactive and add some spatial context using 3D. Now we’re effectively building a simulation of the final product or interaction and solving the questions that were posed earlier.
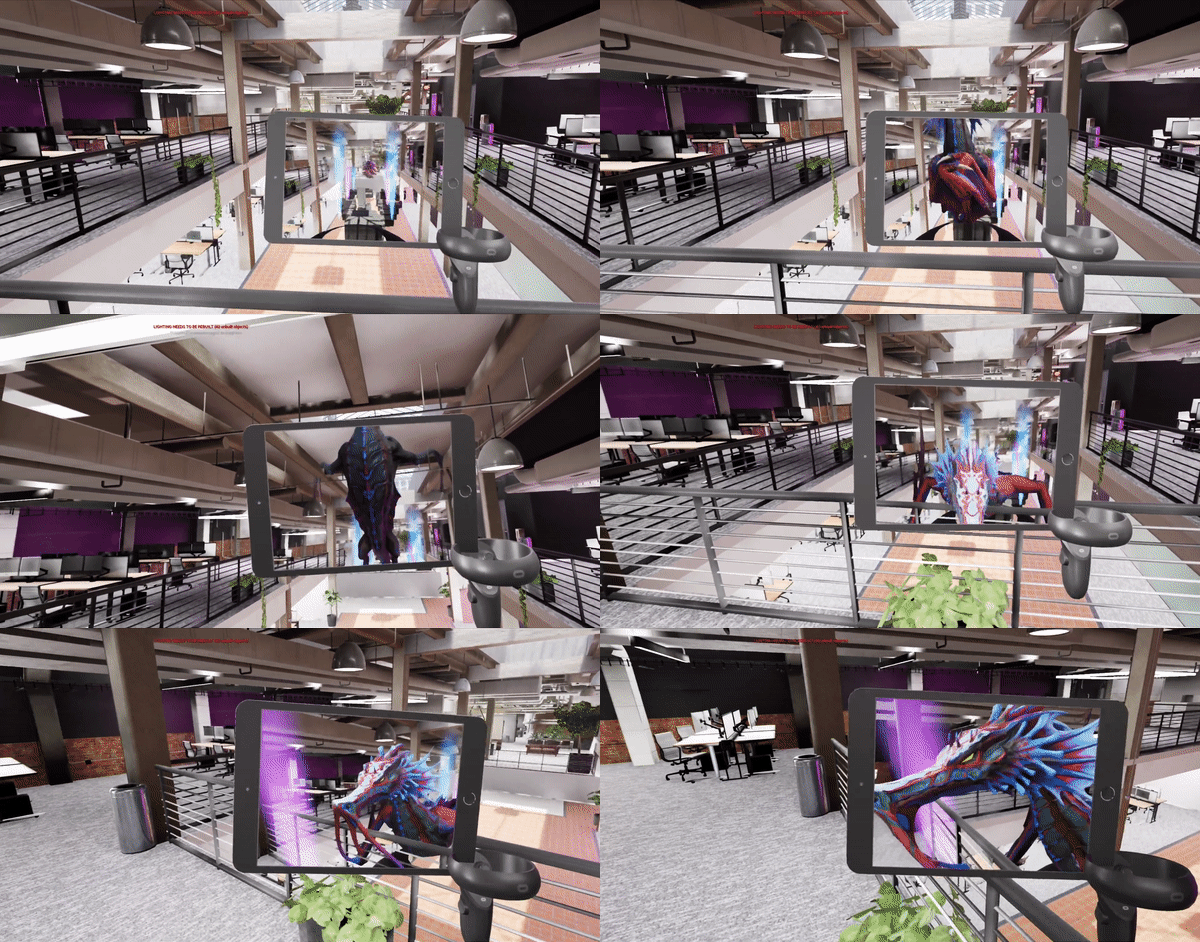
Prototype of an Interactive, guided AR tour for the LA Magnopus office.
With the ever-increasing number of game engines and interactive experience builders at our disposal, there’s never been a better time to start elevating your prototypes in this way.
Long gone are the days when suggesting an interactive prototype is met with words like “time-consuming” or “expensive.” In today's world, it’s considered “rapid prototyping” and for good reason. We can build prototypes blazingly fast and in vast quantities too.
With the right tools and the right mindset, we can build prototypes in a matter of minutes.
Who Are You Prototyping For?
This might sound like a bit of a silly question, and you shouldn’t have to think about it for too long. But depending on who the intended audience is (ie, the recipient of your prototype), the approach you take might vary slightly and your goals might change.
In most cases, you’ll want to design for everyone. Design, Art, Engineering, and Client. But if you don't have to design for everyone, then don’t. When it comes to prototyping, always save time where you can.
Design
In this case, you’re designing for yourself and the wider design team. You’re essentially asking these questions: “Does this idea or experience make sense? Is it fun? Does it work? What are the issues with it? How do we make it better?” And so on.
You’ll always be designing for yourself. And this should be your main priority.
Engineering / Art
It’s almost never your responsibility as a Designer to write immaculate code or build the foundations for the back-end architecture of a new project. Nor should it be one of any artistic merit.
If you’re designing prototypes to help the Engineers or Art Department, it’s often to convey two things. “This is how the thing should behave,” and more importantly “This is how it should feel.”
If your prototypes achieve those two things, you’ll be saving everyone in these departments a lot of headaches. The Engineers can take what you’ve made and make it for real, with robust code and proper architecture. They don’t have to worry about interpreting things, because you’ve solved most of the difficult challenges. You’ve answered their questions in the context of the experience.
Clients
During any project, it can often be difficult for Clients to imagine what the end product will look or “feel” like. You can show them as many wireframes and storyboards as you desire. But it’s often not until they see something in a context that things really start to click.
With interactive prototypes, you’re showing your clients something tangible. They immediately get a sense of the “feel” of an experience and you instantly recognize the excitement it brings with it.
You’ll also have to ask yourself how playable you really want your prototype to be. A lot of the time we can get away with using a lot of trickery and deception, writing things like “code spaghetti” all in the pursuit of saving time. But if you know your client will want to experience the prototype for themselves, then you’ll have to make sure there are no experience-breaking issues or at least throw in a few caveats.
Having clients experience your prototypes can be a great opportunity to get valuable feedback and buy-in from the clients. However, there is of course a time tradeoff to be had in making things “playable.”
Getting Started
There are a million different ways to create an interactive prototype. Many of which involve using a game engine of some kind.
Game engines can be kind of daunting at first, and the idea of coding might put you off. But most engines nowadays offer some form of visual scripting. Visual scripting is a great entry into the world of interactive prototyping and it allows you to pick up programming at a rate that suits you.
So the first question you’ll want to ask yourself is…
Which game engine do I use?
Well, the debate over game engines and which one is better has raged on for eons. You can go down the YouTube rabbit hole like I did when I first started and spend hours learning the pros and cons of each before ultimately “committing” to one.
What it feels like picking your first game engine.
In short, there is no one-fits-all solution. It’s entirely dependent on what you’re making and where your priorities are as a designer or team. Over time, you should get to know and learn each engine. Learn what they offer and where they fall short. Especially when it comes to prototyping.
But generally, when people ask me about prototyping and how they can get started, I usually recommend Unity as a good starting point.
While the visual scripting in Unity is less developed than something like Unreal’s blueprints system, the community, and documentation, however, are second to none. There’s a tutorial or Reddit thread for every problem you’ll ever encounter and when you’re starting out, this is absolutely vital.
Three Common Pitfalls
Now you’ve got the right tools for the job, here are some common pitfalls to avoid when you get started.
❌ Don’t Make Everything From Scratch!
What’s really important as a Designer is how we make use of our time when we’re prototyping. We want to be as efficient as possible and focused on validating ideas, not building the cogs and modelling the trinkets required to make it happen.
I’ve spent countless hours in the past building custom “VR rigs” for the player, or modelling a set of VR hands. But these days, I’m just using assets. They’re often so much better than anything I could cobble together myself and it just accelerates the rate at which I can work.
There's a tonne of free assets out there. But there are also some really reasonably priced ones too. Don’t be afraid to spend a few dollars if it’s going to save you several hours, or even days of work. Trust me, it’s worth it.
Here are my go-to vendors:
❌ Don’t Overcomplicate Things!
If you’re like me and you’ve been prototyping for a while, it can be deceptively easy to get caught up in the code. You’ll want to make intricate systems on the backend for all sorts of things. Managing scalability, handling performance, that kind of stuff.
And sure, it’s important that you consider those things. Especially if you know you’ll be working on a prototype for some time, as you won’t want to make life hard further down the road by cutting corners too soon.
But with that said, it’s a very fine balancing act between “smoke and mirrors” and making something playable. And as mentioned earlier, it’s all about who your recipients are. You could make a super scalable system, but just ask yourself, do I really need to do this? Is it going to make a difference? Am I saving myself time in the long run, or just wasting it?
❌ Don’t Be Too Precious!
We briefly touched on the idea of “rapid prototyping” and with that, comes the notion of throwing things away. An interactive prototype not only simulates an experience or idea but also attempts to validate it.
Not every prototype can be validated though, and that’s okay.
Don’t be scared to mix things up if your prototype isn’t working. In many ways, a failed prototype is a successful prototype. It's served its purpose. Now we have the opportunity to rethink, pivot, and change our approach in the next iteration.
This type of mindset can help us to make informed decisions before going too far down a particular path and in turn, will help save the team precious engineering cycles.
Three Best Practices
✅ Choose The Right Tool
So I spoke briefly about game engines, and while they’re fantastic tools for prototyping, they can also come with a lot of baggage, and sometimes you don't need everything they have to offer.
Sometimes it’s faster or more convenient to use alternative tools.
Let’s say you want to prototype what it’s like to simply explore a space, or understand how it feels when multiple users are in a room together, then there are plenty of other great ways to do that.
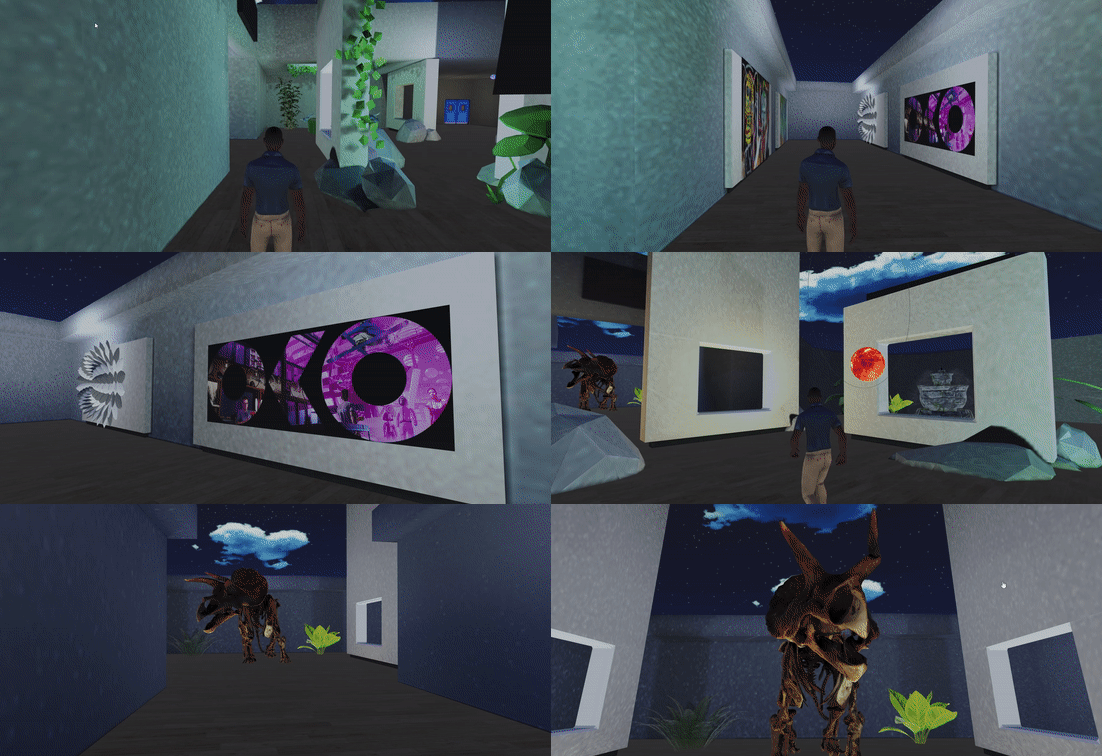
Ultra Modern Art Gallery built using ‘Connected Spaces’ by Magnopus.
Space by: Peter
One tool that I find I’m using more and more is the ‘Connected Spaces’ platform by Magnopus. It’s a cross-reality, cross-device platform that unites the physical and digital worlds.
As a designer, it’s the perfect tool for quickly iterating on multiplayer spaces. If you’re interested in trying this tool out for yourself, you can learn more here.
✅ Make Reusable Code
Once you really start to get stuck in, you’ll notice how often you begin to repeat the same old actions, whether it’s making something face the camera or making an object do something when you click on it. This process quickly becomes monotonous, but it’s also a hard habit to break. You think to yourself, “by the time I’ve opened the last project, found what I’m looking for and migrated it to the new project, I could of already remade it!” And that’s most likely the case, but when you do it 100 times over and there’s multiple designers, you need to start thinking about reusability. This could be in the form of making generic scripts that handle these things, or creating custom tooling.
To handle this problem at Magnopus, we built our very own “Magnopus Design Toolkit” or as we refer to it, the MDT. Not only is it about saving time, but it’s also about empowering designers of all levels to get interactive.
A glimpse into the Magnopus Design Toolkit (UE5).
In essence, it’s a library of components, scripts, and assets that we use ALL the time.
Here are a few of my most used tools:
Particle Library.
UI Component Library.
Smooth Transforms (Ie, quickly transforming the scale, position and rotation of objects using nifty animation curves)
Dynamic meshes along a spline.
Simulation AR inside of VR.
And no doubt over time, you’ll begin collating your own set of reusable scripts and tools. And then you too can make a toolkit.
✅ And Finally, Have Fun With It!
99% percent of the time, designing an experience is not soley about functionality or usability. It’s also about creating something fun and compelling for the end-user to experience.
By prioritizing fun and enjoyment within the design process, designers can work together to create more successful and memorable experiences.
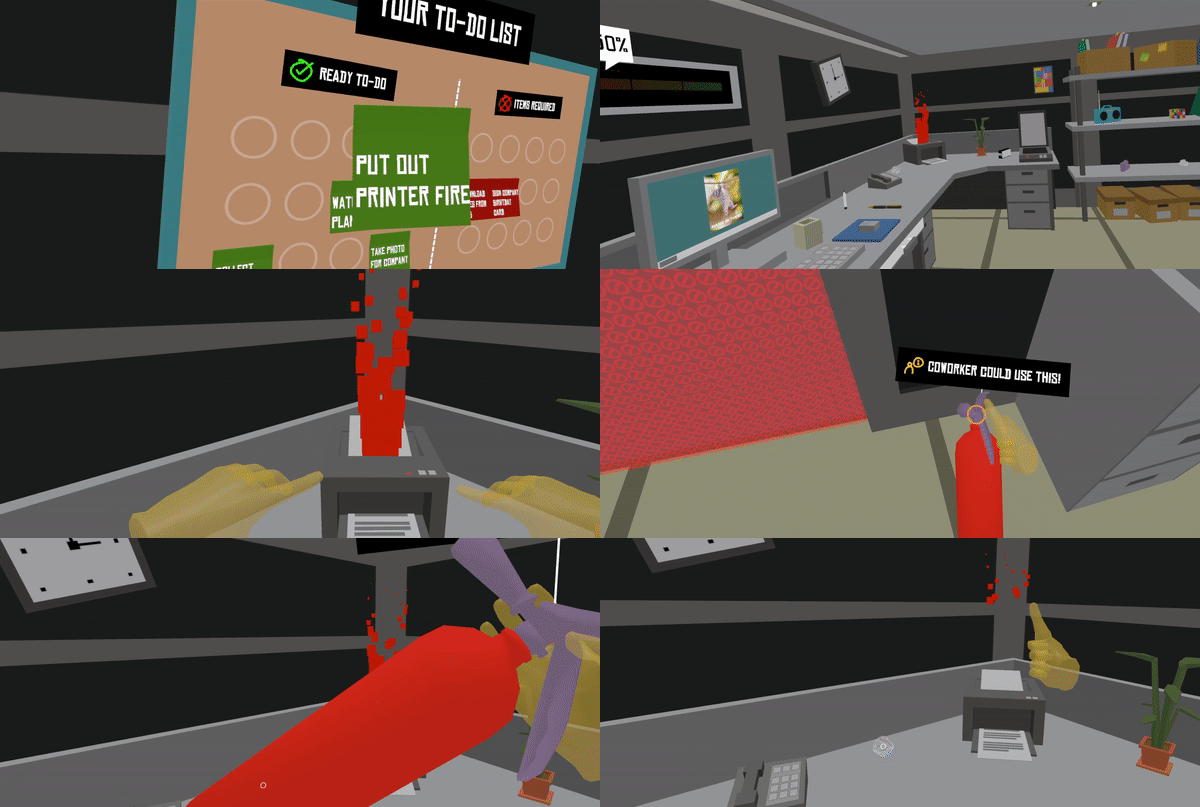
A recent game jam at Magnopus where designers transformed “mundane office tasks” into a “compelling game loop with hilarious interactions.”
Here at Magnopus, "Finding the fun" is often an essential part of our process. This is especially true when working with augmented and virtual realities, where the need for compelling interactions is amplified.
Designers should able to experiment and discover new ways to make an experience engaging. Some ways that you can do this include:
Running design-oriented game jams where designers band together and think outside the box.
Or by simply allocating time during your “discovery phase” to allow for rapid prototyping.
In Conclusion
Interactive prototyping is a valuable tool that allows designers to create, test, and refine their ideas quickly and efficiently.
By incorporating this approach into your workflow, you can save time, reduce costs, and ultimately deliver a better product to your audience. However, it's important to remember that creativity and fun should always play a role in the prototyping process.
Stay open-minded, experiment with different approaches, and don't be afraid to take risks. And, most importantly, always keep your target audience in mind, and tailor your prototypes to their needs and preferences.
With these principles in mind, you can unlock the full potential of interactive prototyping and take your prototypes to the next level.


